
As a newcomer in Canada, ensuring you have access to the money you’ve brought in from back home is important not only from the perspective of landing formalities at the airport but also to pay for basic goods and services: the ride to your accommodation from the airport, groceries, etc., that you may need immediately after landing.
Between knowing the banking regulations of your home country and benefiting from currency exchange rates, evaluating your options can seem daunting. With this blog, you’ll be well informed and better prepared to begin your Canadian journey with confidence!
How to bring money to Canada as a newcomer
In our recent blog, ‘7 ways to prepare your finances and arrive prepared in Canada,’ we briefly explained some of the action items that you can do prior to arrival to ensure a smooth financial transition to Canada. Now, let’s understand the steps required to securely transfer your money from your home country to Canada.
Step 1: Check the immigration website for the minimum settlement funds you are required to show upon entry to Canada
Immigration, Refugees and Citizenship Canada (IRCC) has defined the minimum amount of settlement funds that newcomers should have access to when they move to Canada as a permanent resident (PR). This amount varies based on the number of family members who will be moving with you. The number for minimum funds is updated every year, so be sure to check the website regularly.
| Note: The amount indicated on IRCC reflects the minimum funds you are required to have while moving as a skilled worker or a skilled trade worker through the Express Entry, Provincial Nominee Program, or other similar immigration programs. The only exceptions are if you are applying as someone who already has experience working in Canada (Canadian Experience Class) or if you already have a job offer in Canada, in which case you are not expected to show proof of funds. |
|---|
Step 2: Consult with your bank in your home country for any rules and regulations on money transfers while emigrating
Check with your bank or financial institution to know the laws or regulations on how much money you can take out of the country. While there’s no limit on the money you can bring into Canada, some countries will limit the amount you can carry in cash or other specific monetary instruments such as travel cards or traveller’s cheques.
Step 3: Gather relevant documents to show ‘proof of funds’ while entering Canada
All newcomers completing their first landing in Canada as a PR are required to show certain documentation that confirms they have access to the minimum amount of settlement funds stated by IRCC. This money could be with you on-person, in a bank in Canada, or in your home country.
Officers at the port of entry may ask to see documents such as financial statements or bank letters that guarantee you have access to the funds mentioned on your application. If your spouse is travelling with you, you can show money that’s in a joint account or your spouse’s account, provided you have access to those funds at all times.
According to IRCC, the following document constitutes proof of funds:
A letter from a bank or financial institution (from your home country or Canada) that mentions details of the funds you hold. The letter should be printed on the bank or financial institution’s letterhead and it should include:
- Their contact information (address, telephone number, email address)
- Your name
- Your outstanding debts such as credit card debts and loans
- Current bank and investment account, the account numbers, date each account was opened, the current balance of each account, and average balance for the past six months
| Remember! Money locked in real estate or property won’t count towards your settlement funds in Canada; you may have to liquidate it prior to moving. You cannot borrow money from another individual, be it family or friend, and show it as settlement funds. |
|---|
For PR individuals, most large Canadian banks such as RBC Royal Bank, Toronto-Dominion (TD) Bank, Bank of Nova Scotia (Scotiabank), and Bank of Montreal (BMO) facilitate the opening of a bank account prior to arrival, making it relatively easy to wire transfer your money to Canada. If you decide to open an account pre-arrival and transfer your funds, be sure to gather appropriate documentation that shows you have access to the amount in Canada — this will count as proof of funds.
These bank letters and financial documents can also be supplemented with cash, stocks, bonds, debentures, treasury bills, banker’s drafts, cheques, international money orders, travel cards, or travellers’ cheques, all of which are considered proof of funds.
You can also check with your bank in your home country if they have an existing banking relationship with any of the Canadian banks. If they do, you will have a few more options to transfer your money to Canada.
| Note: It’s good to have some cash handy for expenses in your first few weeks in Canada as liquidating monetary instruments such as banker’s drafts, cheques, or money orders may take longer. Be sure to check with the bank for the timeline. Wire transfers are almost instant and the quickest way to bring money to Canada. However, it is also one of the most expensive options. So be sure to shop around and evaluate your choices before sending money to Canada. |
|---|
To make your transition to finding your home in Canada easier, IRCC recommends bringing as much money as you can. However, if you’re bringing in $10,000 or more, you have to declare it to the border officer through the Declaration Card.
Step 4: Book a bank appointment to deposit your funds and learn more about Canadian banking
Lastly, visiting a branch or scheduling an online appointment to open a bank account within the first few days after landing is a good idea. Some banks offer an option to book an appointment online on their website or you can even call to schedule an appointment. Appointments can be booked before or after landing in Canada. Banking advisors are very helpful in explaining how banking and financial products work in Canada, so it’s a good opportunity to ask questions and get all your doubts clarified in person!
| Recommended Reading: Understanding credit scores and tips on how to build your credit history as a newcomer in Canada. |
|---|
How to transfer money within Canada
In Canada, whether shopping for big-ticket items like furniture or electronics, buying coffee at the coffee shop in your neighbourhood, or paying a friend for a shared Uber ride, digital payments or digital wallets are often the go-to option for completing the transaction and paying for items or services.
For peer-to-peer payments (think: sending money to a friend, relative, co-worker, or acquaintance in Canada), there are a couple of ways to send and receive money online: Interac and Paypal. Interac is a bank-based tool, while Paypal is a non-bank, third-party service. Among these, Interac e-transfers are the most popular and widely used form of peer-to-peer payments in Canada.
What is Interac e-Transfer?
Interac e-Transfer is a fast, secure, easy, and convenient way to send, request, and receive money directly from one bank to another.
To send an e-Transfer, all you need is —
- A Canadian bank account or an account with a participating financial institution, for both, yourself and the recipient
- Access to online or mobile banking
- The recipient’s email address or phone number
Depending on your bank or financial institution, the type of account you hold (chequing, savings, business etc.), and the type of transaction (sending, requesting, Autodeposit, etc.), there may be a small fee for Interac e-Transfer transactions or it may be free. For instance, you can send unlimited free e-Transfers if you hold a personal chequing account with RBC Royal Bank!
| Remember! There are certain limits to the amount you can send via an Interac e-Transfer. These transaction limits are set by individual banks and can be viewed through online or mobile banking. Do check your daily transaction limits before sending money. |
|---|
How to send money from one Canadian bank account to another
With Interac e-Transfer, sending money from and to any Canadian bank account only takes a couple of minutes and is an excellent alternative to traditional forms of payment such as cheques and cash. Over 250 financial institutions in Canada support Interac e-Transfer; you can view the complete list on the Interac website.
| Interac has outlined the exact steps you need to follow to send an e-Transfer:
Step 1: Log in to your bank’s online or mobile banking and navigate to Interac e-Transfer Send Money. |
|---|
How to receive money through online transfer in Canada
Receiving money through Interac e-Transfer is effortless. As mentioned briefly in Step 7 above, there are two ways to receive an e-Transfer:
- With Autodeposit turned on: No action is required by the recipient; the money sent to you will automatically be deposited into your account and you will receive a notification (email and/or text message) mentioning the amount that was transferred.
- With Autodeposit turned off: The recipient has to refer to the security answer shared by the sender. Look for an email or text notification that indicates you have money waiting to be accepted. Then click the link in the notification, enter the answer, and select the account where you want the funds deposited (chequing or saving). This completes the e-Transfer and a confirmation is sent to the sender.
| If you haven’t signed up for Autodeposit, you can do it in three simple steps! Interac tells you how:
Step 1: Log in to your bank’s online or mobile banking and navigate to Autodeposit, typically found in the Interac e-Transfer settings. |
|---|
How to request money with Interac e-Transfer
If you’re owed money, you can easily request it from the recipient through an Interac e-Transfer. Through this process, the recipient is instantly notified (via email and/or text message) and provided with a link to accept the request. Once the recipient clicks on the link and accepts the request, the money is automatically deposited into your bank account and you will be notified of the available funds.
| According to the steps outlined on Interac’s website, here’s how you can easily request money: Step 1: Log in to your bank’s online or mobile banking and navigate to Interac e-Transfer Request Money. Step 2: Add or select a contact and fill out the name and e-mail address or mobile phone number of the person you wish to send the request to. Step 3: Type in the specified amount you are requesting and select the account you would like the funds to be deposited into. You can also include a personalized message with the request. Step 4: Once the recipient has fulfilled your request, funds will immediately be deposited into your bank account and you will be notified (through email and/or text message) immediately. |
|---|
Depending on whether you used online and/or mobile banking in your home country, you may take some time to get used to Interac e-Transfer. However, given its ease of use and simplicity, only a couple of transactions are usually sufficient to become a pro!
How to send money abroad from Canada
Moving to and settling in a new country miles away from friends, family, and relatives is tough. From time to time, newcomers in Canada may need to send money back home. There are quite a few ways to transfer money internationally — some work best for smaller amounts while others are recommended for larger sums.
How to set up an international money transfer (also called ‘remittance’)
Step 1: Choose the right channel based on the amount you’re sending
You can send money overseas through online or mobile banking, by telephone, by email, or in person. Banks like RBC Royal Bank have a simplified, affordable, and convenient process for international money transfers through online banking. If you have the recipient’s banking information handy, all it takes is a few clicks! Be sure to read our article for tips on how to save for the future while supporting family back home.
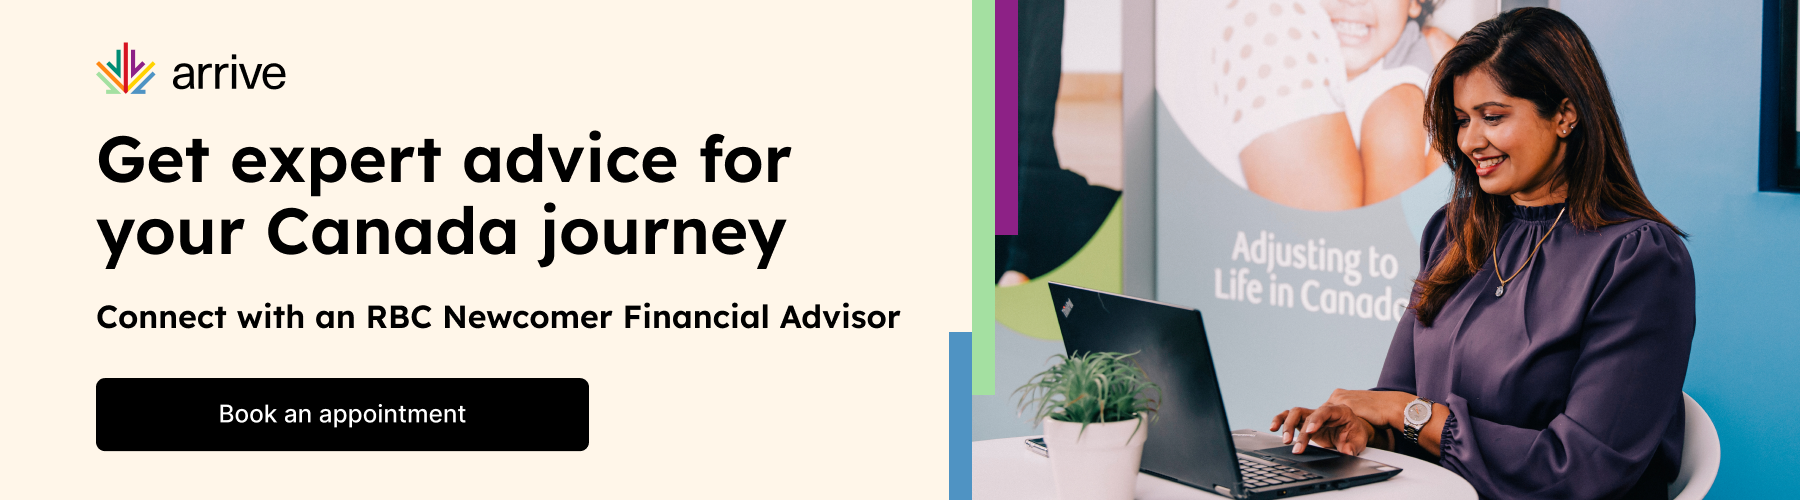
| RBC offers newcomer account holders six free transactions to send money back home. Learn more about the international money transfer service on the RBC website or book an appointment with an RBC Advisor to find answers to any financial questions you may have. |
Some popular options for remittances are:
- Banks
- Credit unions
- Money transfer operators like Western Union, MoneyGram, WorldRemit, etc.
- Peer-to-peer transfer providers such as Transferwise, CurrencyFair, Paypal, etc.
- Currency exchange businesses
When sending money overseas, the Canadian federal government tracks large sums (over $10,000) through Financial Transactions and Reports Analysis Centre of Canada (FINTRAC) to prevent money-laundering, terrorism funding, and related crimes.
| Know your limits! Among other factors, international money transfer limits can primarily vary depending on — (a) the bank or money transfer provider you choose and (b) the type of transfer (cash, direct deposit to recipient’s bank account, or a credit to a credit card, debit card, or prepaid card). Be sure to check with your bank or provider for the minimum as well as the maximum limit and take note of daily and monthly limits, if any. Transaction limits can also be imposed per account and by transfer methods, such as web-based, app-based, phone-based, or in-person. |
|---|
Step 2: Consider all the costs involved and pay for the remittance
The money you intend to send abroad doesn’t have to be in your account. You can make payments using cash or credit card as well.
| Note: For international money transfer, payments made using a credit card may be considered as cash advance, making it an expensive option as —
|
|---|
Don’t forget to factor in additional costs such as any fees that may be levied by the bank or financial institution or the third-party money transfer service provider. Most banks and money transfer businesses will indicate these fees upfront. Remember, this fee does not include charges (such as taxes) that may apply in the recipient’s country.
| Recommended reading:
The Financial Consumer Agency of Canada has some helpful advice on international money transfers from Canada. |
|---|
Step 3: Ensure receipt of money sent and get a confirmation of your transaction
It can take between a few minutes to a few days for the intended recipient to receive an international money transfer. The time it takes for the recipient to receive the money can vary based on:
(a) Whether the recipient back home has a bank account or not
(b) The country you are transferring money to (regulations affecting transaction limits)
(c) The amount you are sending
(d) The institution/business/service you use to send money
Whether you do the transaction online, in person, or over the phone, always get a receipt of your remittance. It will be useful if there’s an issue or if you need to trace the transaction.
Prepare for financial success in Canada!
Canada has its own unique culture, financial and banking ecosystems, and ways of life that may seem foreign to you at first but the right resources, tools, and knowledge, can help you acclimatize faster and settle in smoothly.